Transferring Out Prescriptions
In order to transfer a prescription to another location, it is required that specific information related to that prescription and its dispense history is sent.
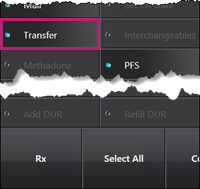
To transfer out a prescription:
- From the Workbench, select Rx > Transfer.
The Select Prescription window opens.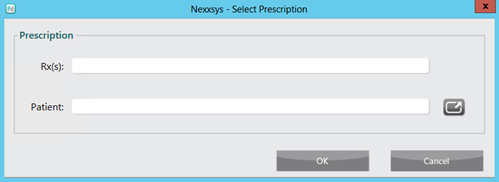
- In the Patient field, enter the patient’s name.
- Select OK. The Patient Search window opens.
- Select the correct patient from the search results. The patient's Profile tab opens.
- Select the prescription(s) that need to be transferred.
- Select OK. The Audit History window opens.
- Select OK. The Transfer Out window opens.
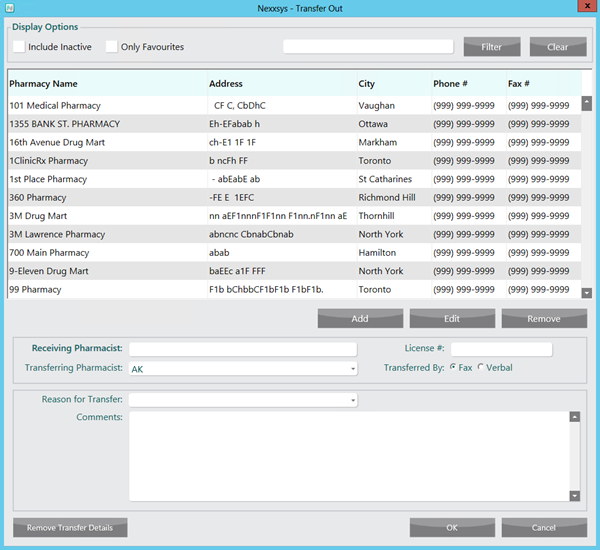
- Search for and select the Pharmacy Name of the pharmacy that the prescription is being transferred to.
- Use the Filter feature to help search for a pharmacy:

The Transfer Out window can be filtered by
- Pharmacy Name
- Adress
- City
- Phone #
- Fax #
- If the Pharmacy Name does not appear, select the Include Inactive checkbox to see if the pharmacy is set as inactive.

- If the Pharmacy Name does not exist, a pharmacy record needs to be created. For more information, see Creating a New Pharmacy.
- Use the Filter feature to help search for a pharmacy:
- In the Receiving Pharmacist and License # field, enter the receiving pharmacist name and their license number, respectively.
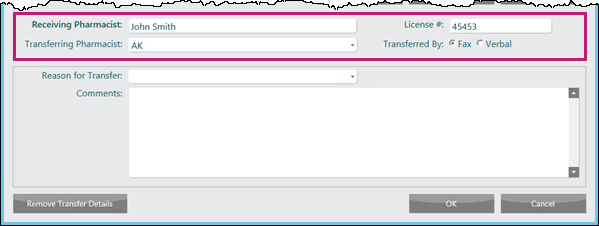
- From the Reason for Transfer dropdown, select a reason for the transfer.
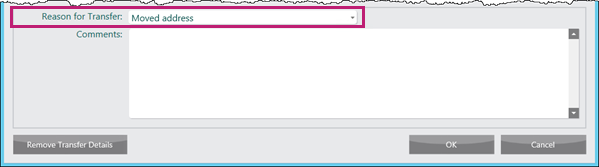
Note: Transfer details can be removed by selecting Remove Transfer Details.
- Add any additional comments in the Comments field.
- Select OK. The prescription is transferred to the receiving pharmacy.